
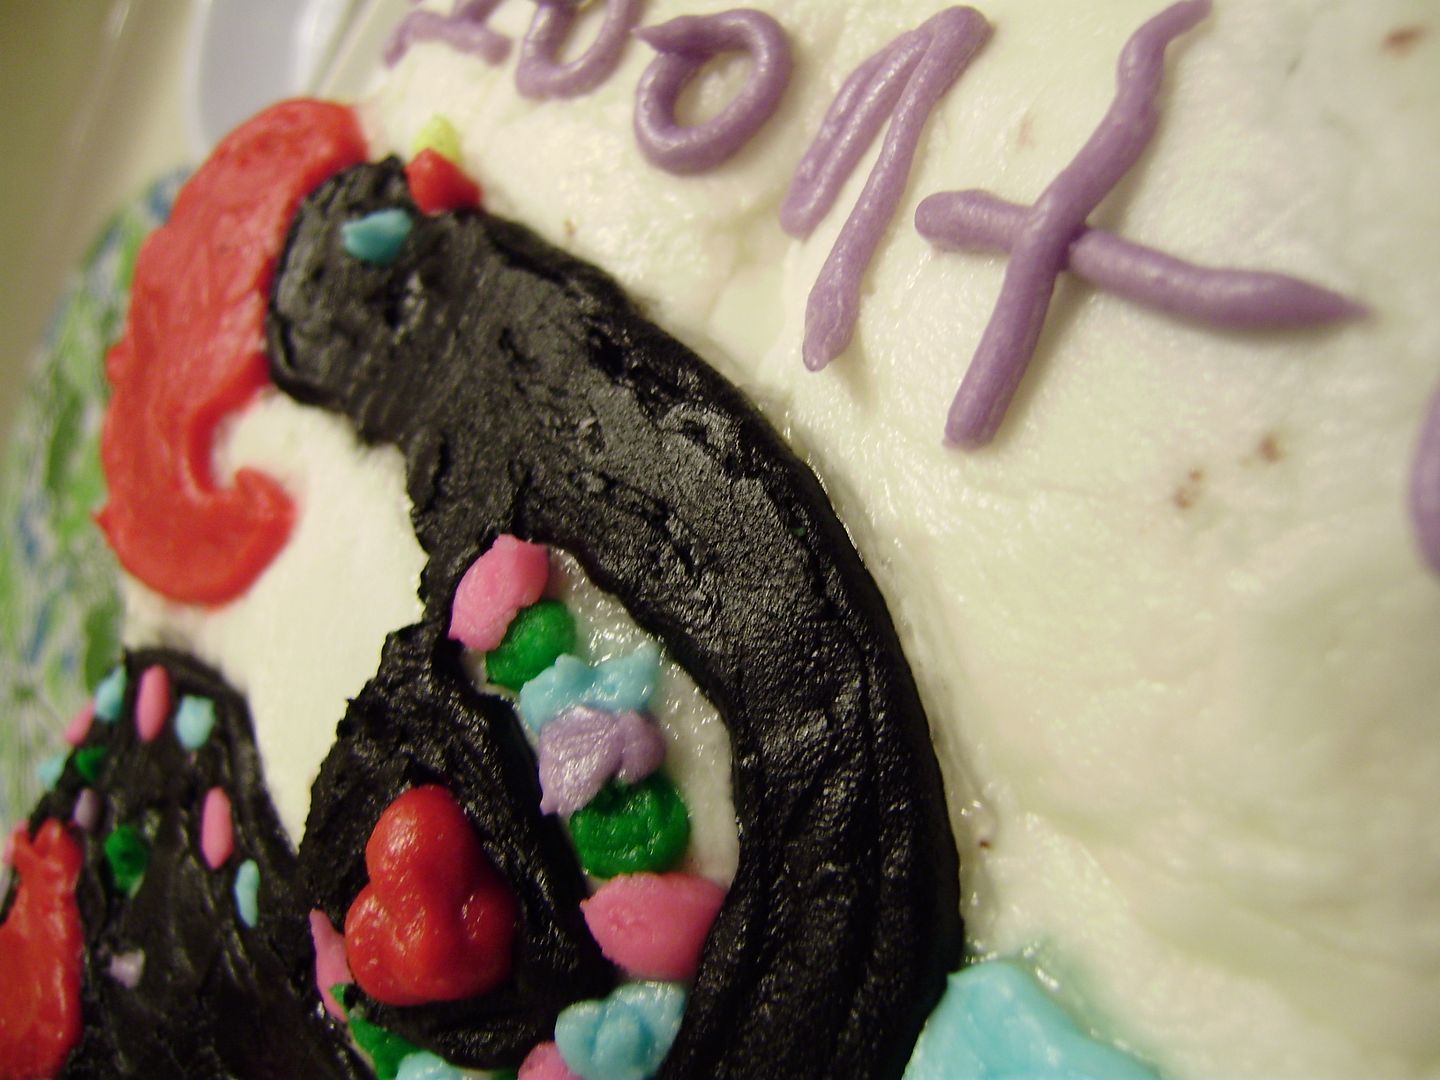
This second week of class saw us make a "mini cake" with seven cupcakes. Here's what mine looked like.
And here's how we did it.

What you need
-seven cupcakes
-a solid, portable surface upon which to place your cupcakes
-a knife
-a small cup of water
-a lot lot of white icing
-a variety of coloured icing
-piping bags (one per colour - you can always just use a plastic bag with a snip at the corner)
-wax paper
-a marker
-a simple image you'd like to copy
-a decorator's clear gel (for which we did not receive a name, but I'll explain further)
How you do it
With your portable flat surface at hand and the weird decorator's transparent gel (but icing sugar can work as well, I'm told) arrange your seven cupcake in a circle and dab a wee bit of the gel/icing on the bottom. This will "cement" the cupcakes in place, since you'll be working a lot of icing on top of them in the next step.
Next step! Work a lot of that white icing on top of the cupcakes. The idea is to get all the nooks and crannies filled, fooling the eye into thinking you have one solid mini cake, and not seven individual cupcakes.
Helpful tip (that we weren't given until I asked almost at the end of the class: use the knife to dip in a bit of water to help smooth out all the icing, making it flat and lovely. Otherwise it sort of chunks up, and might disarrange the cupcake or icing below it).
With your marker and wax paper, trace your simple image onto one side of the wax paper.
Flip the wax paper over.
Using the weird transparent decorator's gel, trace the image you've just created.
Carefully, slap the wax paper, gel-side down, on top of your cupcakes (note: you can sort of see the remnants of this gel on my cupcakes in the top image).
Helpful tip: if you have any ability to draw whatsoever, just skip the whole tracing-with-gel-onto-wax-paper step. Just draw with the gel directly onto your cupcakes. As you know, I like to take as many short cuts as I can!
Ok, I swear you're almost there.
Now you get to mix up your colours, and fill in the image-outline you've just transferred onto the cupcakes.
That's basically it!
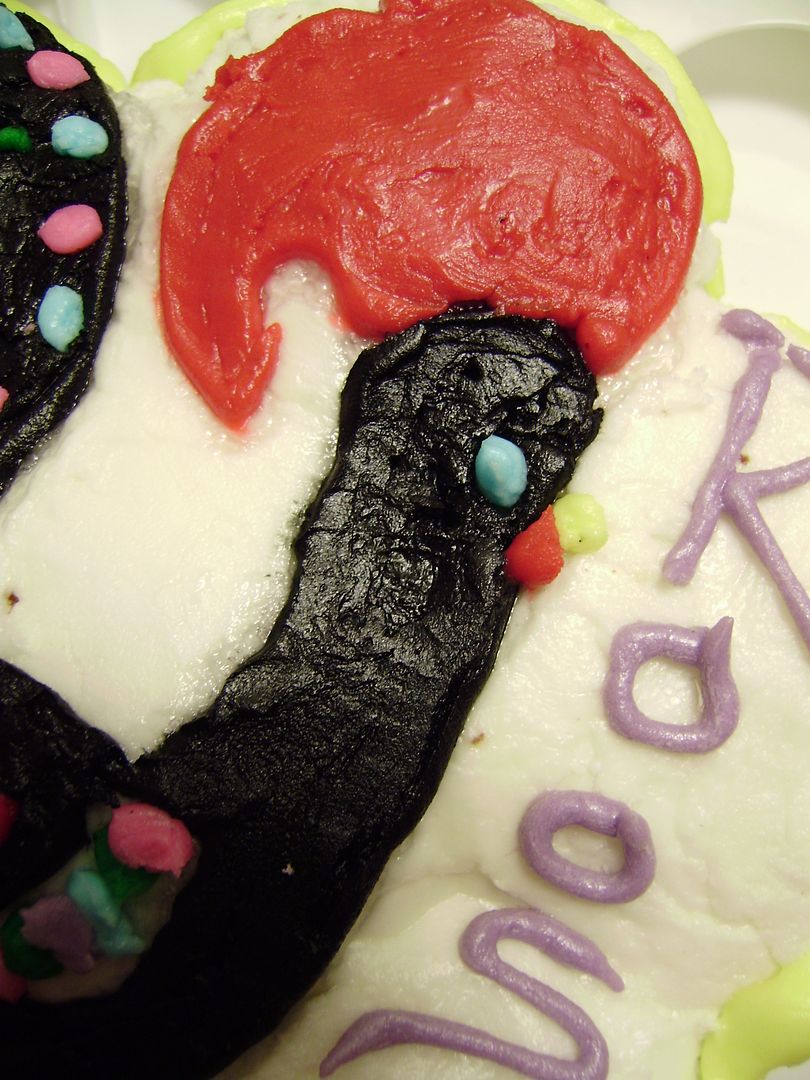
Now, as far as my cupcakes go, I didn't use the pre-selected images to trace. Obviously. I mean, what are the chances they'd actually have something I'd like to create? :)
And, just as a warning: as awesome as it is, black icing will absolutely change the colour of your fingers, tongue, and clothes.
And, just as a warning: as awesome as it is, black icing will absolutely change the colour of your fingers, tongue, and clothes.
4 comments:
Too cute! :)
I love how yours came out, it's so cute!
this is so clever!! I never knew how they did this before, that looks amazing! Your rooster cupcake cake rocks.
Love this!
Post a Comment