Call me the procrastination knitter: when I set myself to get something done, I end up knitting something else instead.
Here's an example:

Pattern: Flying Fox (notes posted below)
Yarn: almost 5 entire skeins of Elsebeth Lavold Silky Tweed
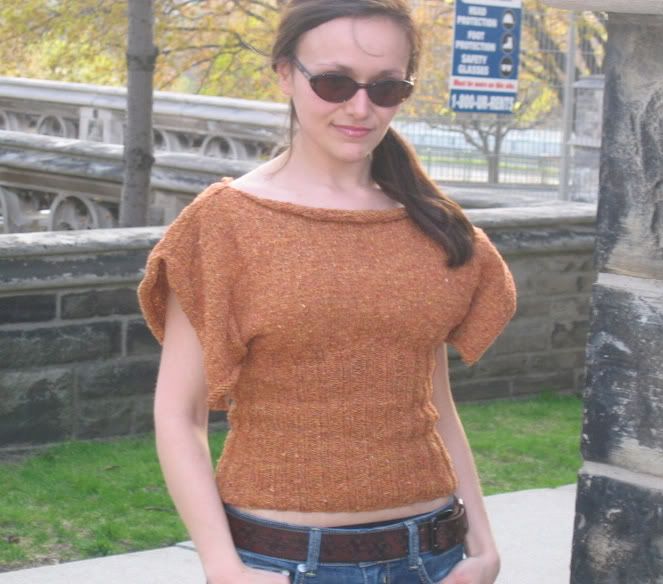
I'm semi-pleased by the way this one turned out.
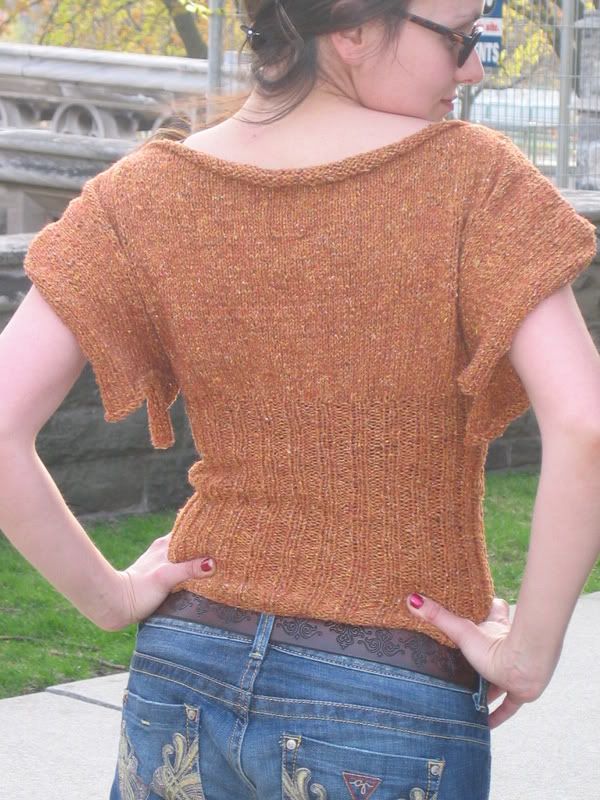
I originally had envisioned incredible batwing sleeves for this knit (hence the name - oh how I love naming the knits!). Unfortunately, my impatience to get this one on the way had me skipping important forethought regarding the shaping. I'm sure if I actually thought about it, I could have made it look more like the vision in my mind.
I also had to exercise some big-time will power to refrain from gussying this one up. As you can see (if you're familiar with any of my other designs) I gravitate towards the prettily-detailed. This one is decidedly minimalist. This was a tactic, so that I could focus on the drapey sleeves and neckline.

I fear the yarn is discontinued: I read that somewhere on the internets. Then again, I read lots of stuff on the internets. I hope it isn't, because I really really love this yarn. Lovely and drapey.

Here's an example:

Pattern: Flying Fox (notes posted below)
Yarn: almost 5 entire skeins of Elsebeth Lavold Silky Tweed
I'm semi-pleased by the way this one turned out.
I originally had envisioned incredible batwing sleeves for this knit (hence the name - oh how I love naming the knits!). Unfortunately, my impatience to get this one on the way had me skipping important forethought regarding the shaping. I'm sure if I actually thought about it, I could have made it look more like the vision in my mind.
I also had to exercise some big-time will power to refrain from gussying this one up. As you can see (if you're familiar with any of my other designs) I gravitate towards the prettily-detailed. This one is decidedly minimalist. This was a tactic, so that I could focus on the drapey sleeves and neckline.

I fear the yarn is discontinued: I read that somewhere on the internets. Then again, I read lots of stuff on the internets. I hope it isn't, because I really really love this yarn. Lovely and drapey.

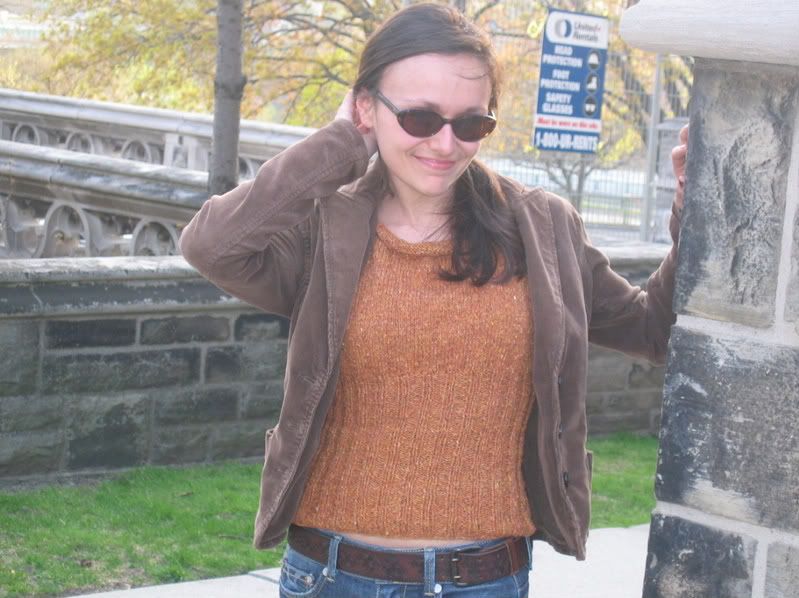
Please don't mind the smirky grin on me face.
Awaiting me at home is yet more procrastin-knitting. I've just had some golden Debbie Bliss Pure Silk wound into usable yarn-balls. There's also some scarletty bamboo that's calling my name.
And here comes the summer!
*****
Pattern notes:
gauge - 22 sts=4" on 4 mm needles
Cast on 108. Join for knitting in the round.
Place marker at the beginning of the round; work 2x2 ribbing across 54 sts, place marker, work 2x2 ribbing for the rest of the round.
Knit 2x2 ribbing for 11".
When piece measures 11", work increase row:
You will begin working back and forth.
*increase 1 st into next 3 sts, knit 1*
repeat until you reach side marker, increase into last 2 sts
(95 sts across the front now)
Slip marker, add new yarn, increase into first st, knit 1,
*increase 1 st into next 3 sts, knit 1* repeat until next marker.
This is the back. I recommend leaving this side to work until you've completed the front.
Working the front:
Turn work to wrong side facing, purl across.
Next row: Right side facing, knit across.
Next row: Wrong side facing, cast on 24 sts, purl across, place marker after these 24 sts, purl across sts, place marker, cast on 24 sts.
Next row: Right side facing, knit across all sts.
Knit these 119 sts until sleeve measures 2.5".
At 2.5", work as follows until sleeve measures 4.5":
Right side facing - knit across sleeve, slip marker, decrease one st, knit across front until 2 sts before marker, decrease one st, slip marker, work across sleeve to end of row.
Wrong side: purl.
When sleeve measures 4.5":
stop working these decreases, and simply knit the right side of the work and purl the back until the sleeve measures 8".
When sleeve measures 8":
Right side facing: Decrease 2 sts at each end of every row five times.
Wrong side: purl.
After you've completed all 5 decrease rows, cast off.
Work back same as front.
Sewing back and front together:
I simply stitched the front and back together, beginning at the first decrease-row worked when the sleeve was 8" long.
(the sleeve will be slightly curved here. I just began stitching at this curve).
I stitched each side together for 5 inches.
******

9 comments:
Very nice! You pull off the dramatic sleeves well, and I really love what the neckline is doing
I am loving the drape!
Lovely top! The neckline does it for me.. I love drapey neckline like that.
Arrgh! I can't believe you have sucha beautiful spring up there and we still have banking of snow in the parks!!
Love the sweater - it looks great on you - and would definitely love to make one. My LYS has lots of EL Silky Wool in stock - wish I'd bought some during the sale last weekend!
Thanks :)
Snow drifts always take long to disappear - I just hope they aren't of the black-grit variety.
I'd highly recommend the EL Silky Tweed. Grab it! Drapey goodness (and I may reveal myself as a yarn sniffer now...) Yarn-smell goodness too!
Cute! LOVE the sleeves and the color.
eee! Great photos!! I have a ton of finished things but I can't pull of photos half as nice as these. So clear and springy, bright and flattering!!
I've been thinking about starting an outrageous vintage pattern called 'concentrate on the sleeves'. you have given me the courage!
You look so Kristin Davis in these photos! Greate!
(I'm not in Ravelry yet. I figured I should get some more fo's done first.)
Love the sleeves! Thanks for sharing the pattern with us.
Post a Comment