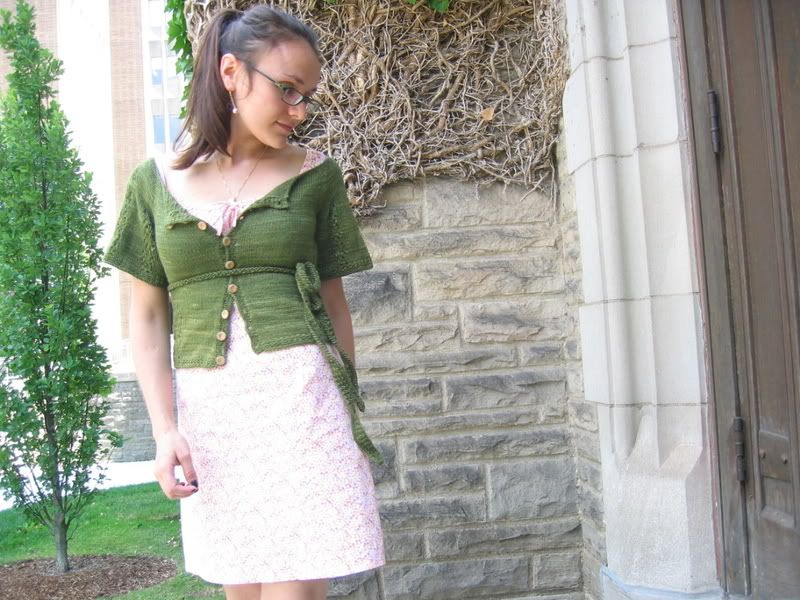
Howdy from a sunny July day and the just-finished Lovegood.

Pattern: Lovegood
Yarn: about 3.5 balls of Manos Silk Blend
I likes this yarn so very much.
I don't think I can say that enough.

Originally I was envisioning belt loops for this one, and the ability to wear said belt at either just under the bust or natural waistline. As it happens, I've made it a touch too short to wear the belt at my waist. Methinks it'd look a bit funny. And, the belt stays put, so no need to add the loops.
The neckline turned out how I wanted (thankfully!) in that I wanted it wide and almost off the shoulders. The sleeves aren't as big and flowy as I wanted, but I'm satisfied with them.
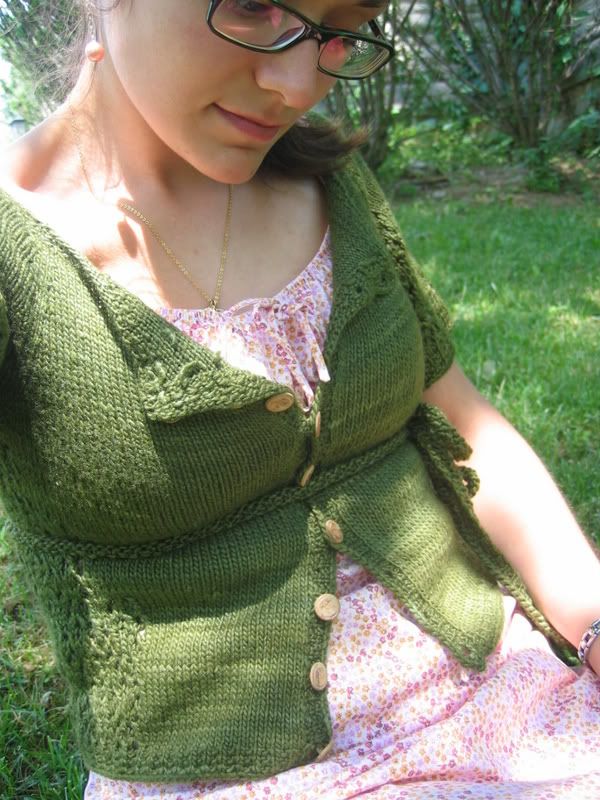
I'm undecided about the wood buttons, though. In my zeal to get this one completed, I grabbed the only flat-fronted, right-sized wood buttons the store had - and now I suspect they're too contrastive to the yarn. * le sigh.

But, my enthusiasm level for this one remains at the moderately high level (I gave it the smiley, but not super-smiley, face on Rav). It's certainly wearable and much needed for my summertime wardrobe.
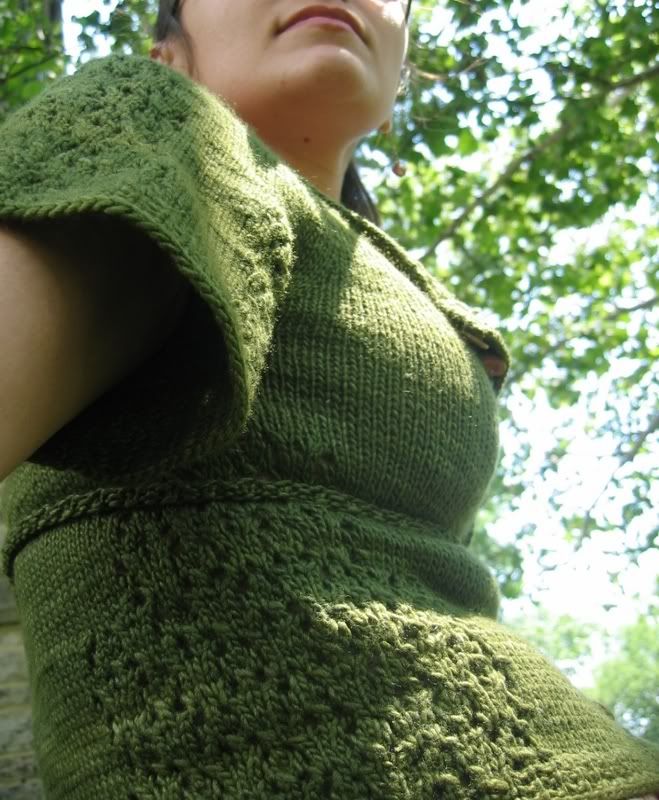
The lace panels are just "Snowflake Lace" from one of my few stitch dictionaries.
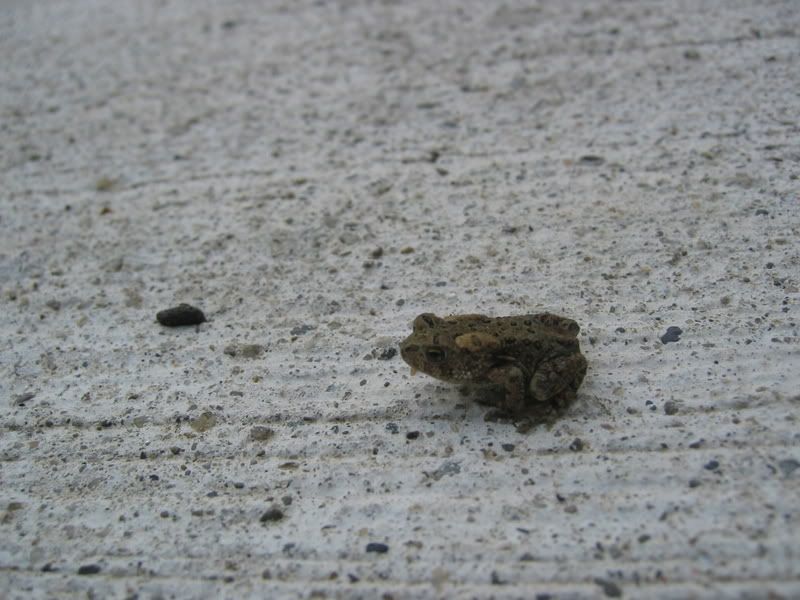
And here's a little guy who hopped on by during the outdoors photo shoot.


Pattern: Lovegood
Yarn: about 3.5 balls of Manos Silk Blend
I likes this yarn so very much.
I don't think I can say that enough.

Originally I was envisioning belt loops for this one, and the ability to wear said belt at either just under the bust or natural waistline. As it happens, I've made it a touch too short to wear the belt at my waist. Methinks it'd look a bit funny. And, the belt stays put, so no need to add the loops.
The neckline turned out how I wanted (thankfully!) in that I wanted it wide and almost off the shoulders. The sleeves aren't as big and flowy as I wanted, but I'm satisfied with them.
I'm undecided about the wood buttons, though. In my zeal to get this one completed, I grabbed the only flat-fronted, right-sized wood buttons the store had - and now I suspect they're too contrastive to the yarn. * le sigh.

But, my enthusiasm level for this one remains at the moderately high level (I gave it the smiley, but not super-smiley, face on Rav). It's certainly wearable and much needed for my summertime wardrobe.
The lace panels are just "Snowflake Lace" from one of my few stitch dictionaries.
And here's a little guy who hopped on by during the outdoors photo shoot.

******Pattern NOTES*******
Lovegood Cardigan Notes
Size:
Made to fit me, which is approx 35” bust.
Materials:
3.5 hanks of Manos Silk Blend
9 buttons (15mm across)
Needles:
3mm, 3.5mm, and 4 mm circular needles
Gauge:
(Don’t ask how, but)
On 3mm – 5.5 sts/1”
On 3.5mm – 5.5sts/1”
On 4 mm – 5 sts/1”
Cast on 165 sts using 3mm circs.
Divide stitches with place markers as follows:
28 (for left front)
27 (for left sleeve)
56 (for back)
27 (for right sleeve)
28 (for right front)
Do garter rib for 6 rows.
GARTER RIB:
Right side: K1, p1 to end.
Wrong side: Purl across.
On next Right Side (RS) row:
Switch to knitting in stockinette st.
Begin raglan increases.
To do this: increase one stitch on each side of each place marker each right side row.
AT THE SAME TIME:
Begin lace panel on arms. Place this in the middle of the arm.
LACE PANEL (6+1 multiples)
Row 1 – knit 1 *yo, skpo, k1, k2tog, yo, k1. Repeat from * to end
Row 2 – and all wrong side rows, Purl to end
Row 3 – Knit 2, *yo, knit 3. Repeat from * to last 2 sts, then yo, knit 2.
Row 5 – Knit 2 together, yo, skpo, knit 1, knit 2 together, *yo, sl 1, knit 2 together, psso, yo, skpo, k1, knit 2 together. Repeat from * to last 2 sts, then yo, sl1, psso.
Row 7 – knit 1, *knit 2 together, yo, knit 1, skpo, knit 1. Repeat from * to end.
Row 9 – Work like row 3.
Row 11 – knit 2, * knit 2 together, yo, sl1, knit 2 together, psso, yo, skpo, k1. Repeat from * to end.
Work this way, making raglan increases and knitting lace panel, until piece measures 2” from the cast on. Switch to 3.5 mm needles.
Add two more lace panels on each arm.
To do this: place them halfway between the original lace panel and each stitch marker.
Continue in this manner, creating raglan increases and working each arm’s 3 lace panels, until piece measures approx. 5” from the cast on.
At this point the arms should have a couple inches of positive ease on your arm.
Now place all of each sleeve’s stitches on waste yarn, and knit across all body stitches.
Place a lace panel directly under each arm pit.
Work back and forth across body, knitting each side’s lace panel for approx. 2.5”.
Switch to 4 mm needles.
Add a lace panel to each side of already established lace panels.
Work in this manner, knitting stockinette across and 3-repeat wide lace panels under each armpit for approx. 2.5”.
Now add one more lace repeat to each side of each panel. Now you’re repeating the lace 5 times on each side of the garment’s body.
Knit in this manner for approx. 4”.
Begin Garter Rib for bottom:
Switch to 3.5mm needles, and work garter rib for 6 rows.
Cast off.
Sleeves:
Take stitches off waste yarn and begin knitting in established pattern with 3.5mm needles for 1”.
Switch to 4 mm needles, and knit in established pattern until arm measures approx. 4” from armpit.
Work 6 rows of garter rib.
Cast off.
Button Band:
Using 3mm needles, pick up every 3 of 4 sts, for a total of 81.
Work garter rib for 6 rows.
Cast off.
Button Hole Band:
Using 3mm needles, pick up every 3 of 4 sts for a total of 81.
Work garter rib for 2 rows.
Make buttonholes:
RIGHT SIDE: Knit 2 sts in pattern, cast off 2, continue in pattern. Repeat this so that buttonholes are approx. 1.5” from each other. There should be 9 buttonholes. (When I made mine, I placed them a little askew. But I blocked it out, and you can’t tell the off-placement).
Next row: WRONG SIDE: purling across all stitches, cast on for the two stitches you cast off on the previous row in the places where they’re missing.
Knit one more row in pattern, then cast off all stitches.
Belt: Cast on 331 sts with 4 mm needles.
Do 6 rows of garter rib.
This makes a belt that’s just over 5 feet long.
____________________
Errata:
- Number of stitches to cast on: 166
- Number of stitches for the lace pattern : 6+6+1 (if you want all the instructions to be done)
- The 3 omissions in rows 5, and 11 of the lace pattern
(added March 2011)

24 comments:
very nice! And if the buttons still bug you, you can always change them down the road. Can you send my toad to my house? I have some earwigs to get rid of....
I wish I could send the little guy along. He was so bloomin' cute. I wish I had a penny beside him to give some scale :)
I love it! And I admit the color has something to do with it too. :)
This is so cute! You turn out projects so quickly, I am envious. I'm glad that you were inspired by Luna Lovegood, she is awesome.
I LOVE this sweater!! any chance you will be making the pattern available? i've never knit a sweater before, nor have i had the inclination to make the effort but I require this!!!
I tend to love everything you make, but I think that this is my very favorite of your designs. That's just gorgeous.
It's gorgeous! I really want to make one too! :)
Turned out really nice. :D
I like the buttons, too. Depends on what effect you want to achieve, though. To me these buttons make it more summery and less dressy than same-colour buttons would.
Veeery nice! I love the color, I love the side panels, I love everything! Congratulations :-)
Adorable pattern! I love the Manos Silk too.
Oh, I so want to knit this!! I love the colour,love the belt, love the design, love love love. I think I even like the buttons. I hope you write up the pattern! And hey, if you ever need a test knitter....
And how cute was that little toad!
- Julie
This turned out really great! I love the style. Wow!
Thanks so much everyone!
I'll be posting the pattern notes within a couple days.
fel: Thanks for the button comment. That's exactly what it is! I think I might keep my eyes open for 9 green-matching buttons, just in case I want to switch it up to a more fancy-schmancy kind of thing.
Very cute. I really like the yarn colour, and I think those buttons suit it very well.
Very cute cardigan! I love the 'snowflake' panels. It looks like there's some detail on the collar too. ?
I love the cardi. It's very cute and looks so good on you.
Ooh, you're really making me wish I could afford some of that Manos. Jealous jealous!
it's really very pretty!
Its soooo pretty, lovely colour too. I just got some manos silk blend in a darker green and am very inspired! I love Luna Lovegood too, such a great name for a cardi.
Good job.
That's cute! I love the pattern name.
Sorry for the multiple comment-postings! Didn't want to miss out on this one -- I loooove this new design of yours!
FROGGY!!! I love those little guys. Too cute.
I love this cardi! It's super cute. I'm probably going to add it to my rav faves. I add a lot of your stuff. I'm a fan, what can I say.
I'm currently making a Mrs Darcy cardi in almost the EXACT same colour yarn, including wooden buttons. heh
Wow, that's beautiful. Definitely in my queue now, you have such gorgeous designs.
Post a Comment