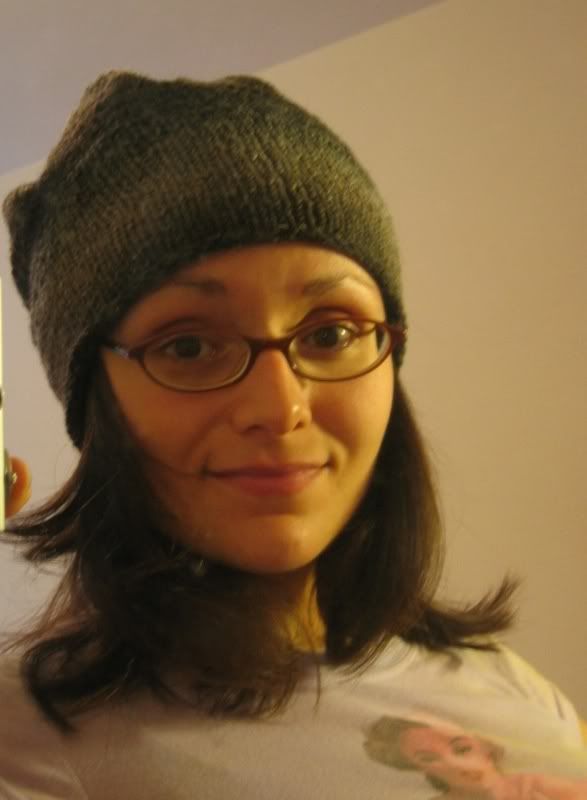
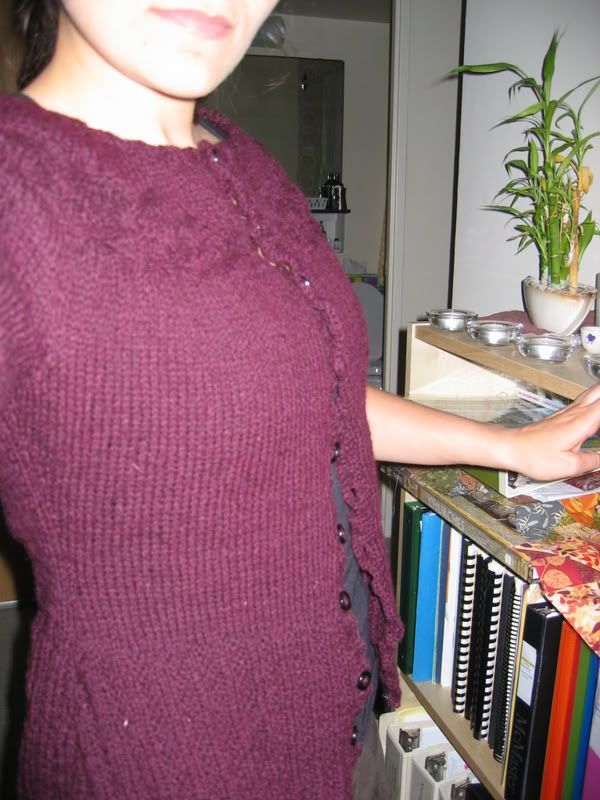
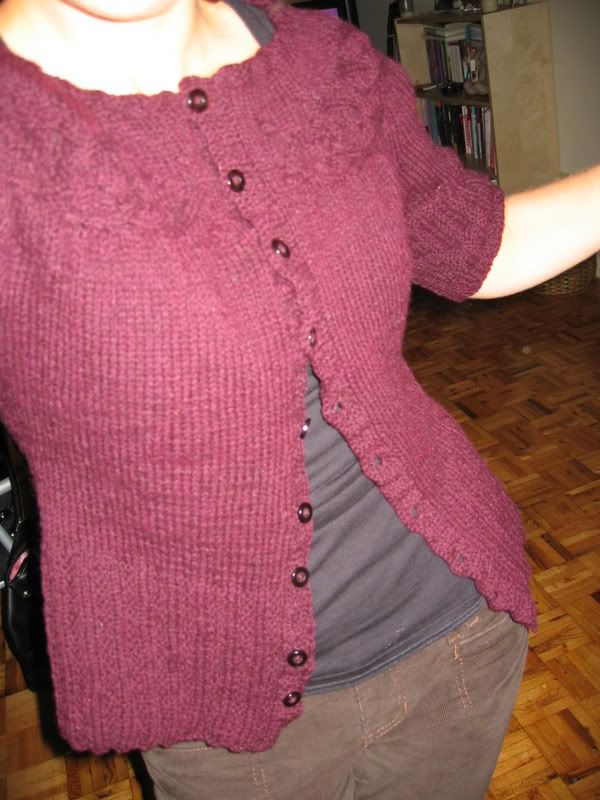
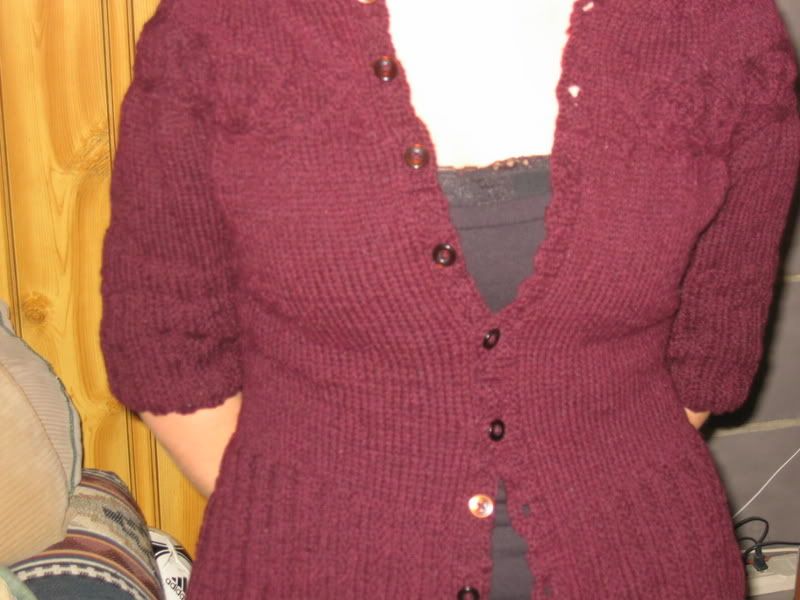
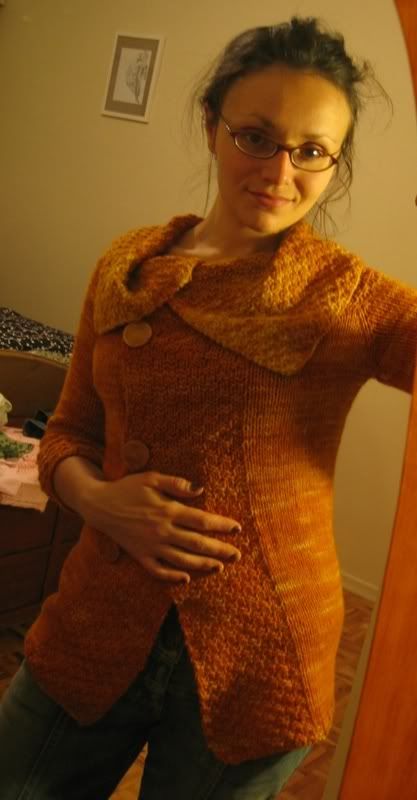
Garn Studio Jacket (at least, inspired by the ubiquitous Garn Studio Jacket)
Pattern:
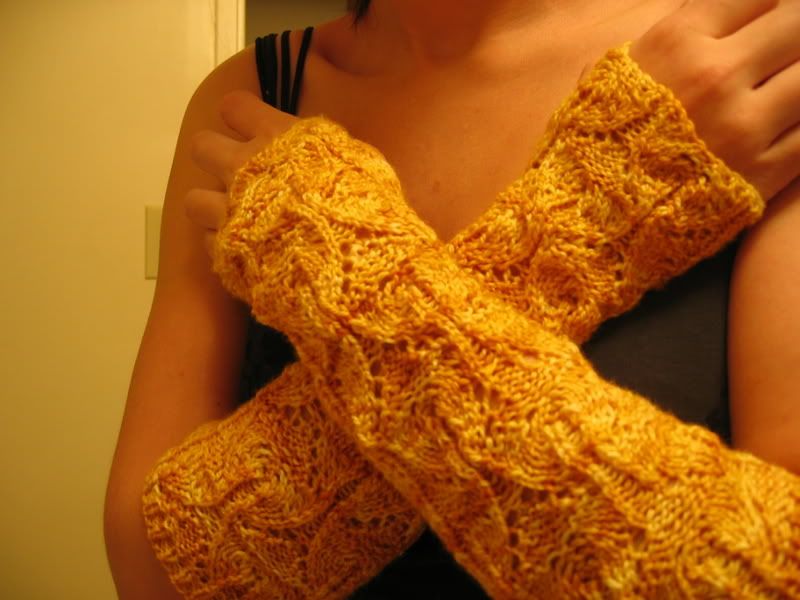
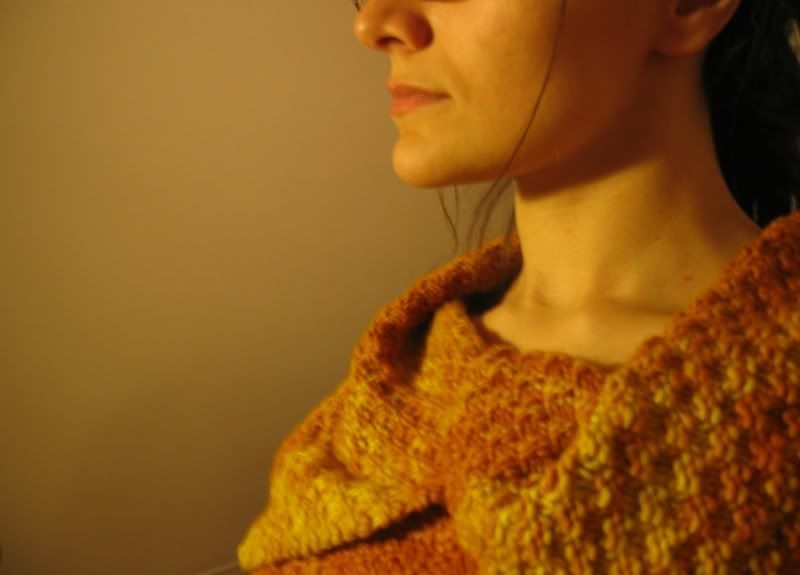
Garn Studio A-Line JacketYarn: Malabrigo Worsted in colourway Sunset - 4 skeins, almost exactly
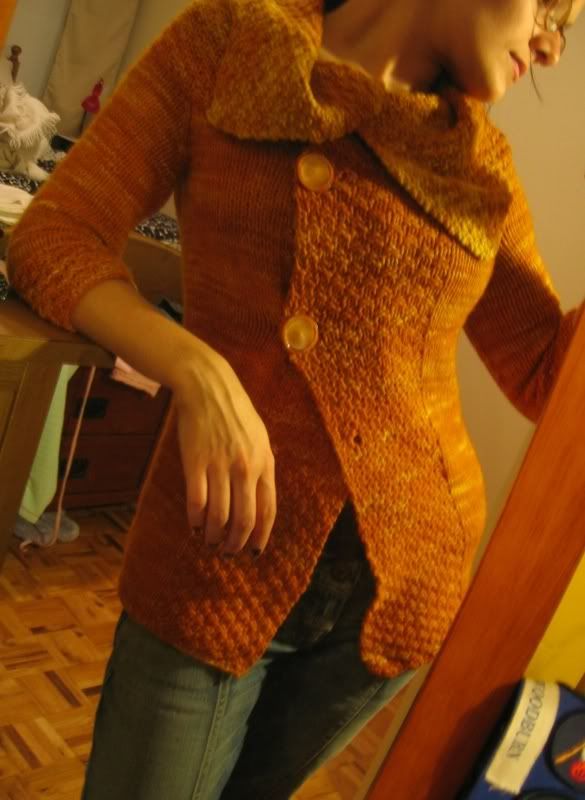
Buttons: retro find at MacFab
Things I'd change: Not really so much this time. I have issues with the yarn dye, because during knitting it kept coming off on my hands. It looked like I was a smoker.
I soaked it in a vinegar/water mix, then some
Soak (the citrus scent). It smells great so far, but I suspect it's still going to let loose some dye.
I credit the Malabrigo Lovers group on
Ravelry for some yarn guidance - they mentioned something about microwaving yarn to set in the dye, which will be my next step if colour issues persist.
How I modded:
I didn't really follow much of the Garn Studio pattern. I was inspired by
randomcyn's jacket, being a top-down raglan.
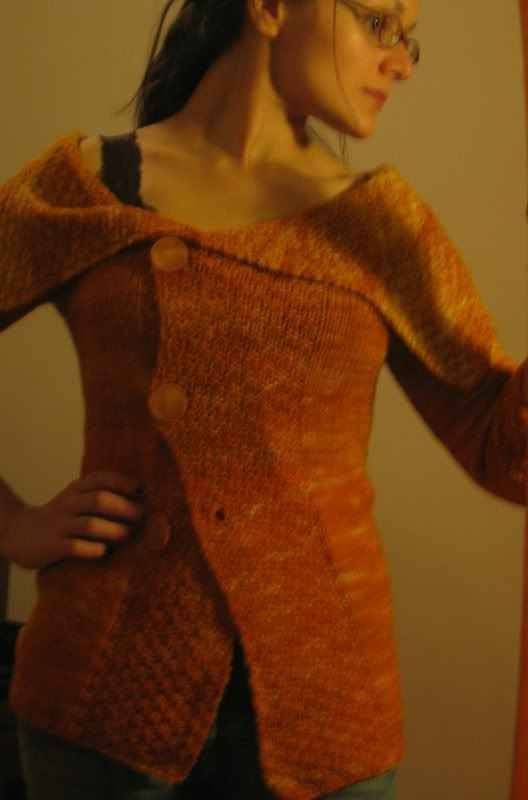
I made sure it was extra wide, so it would sit on my shoulders. I just worked a regular ol' top-down raglan, keeping the whole body straight and maintaining the double moss border until it was as long as I wanted (that was just as I finished the second ball).
I put the button holes wherever I felt like.
The neckline was just picked up after I finished the body and sleeves. I had to nip in at the shoulders a bit because it was quite wide - I picked up every 3 stitches, skipped the fourth.
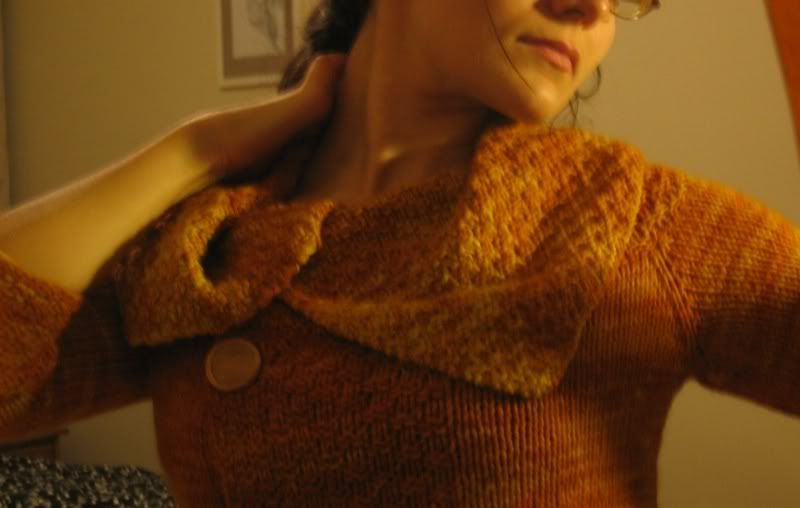
I added an extra button at the top of the funnel neck.
If anyone would like some more mod notes, I'd be happy to oblige!
The Malabrigo, other than the dye-coming-off issues, is gorgeous. It survived all the soaking and washing wonderfully, and feels so soft. Highly recommended. Possibly my new favourite!
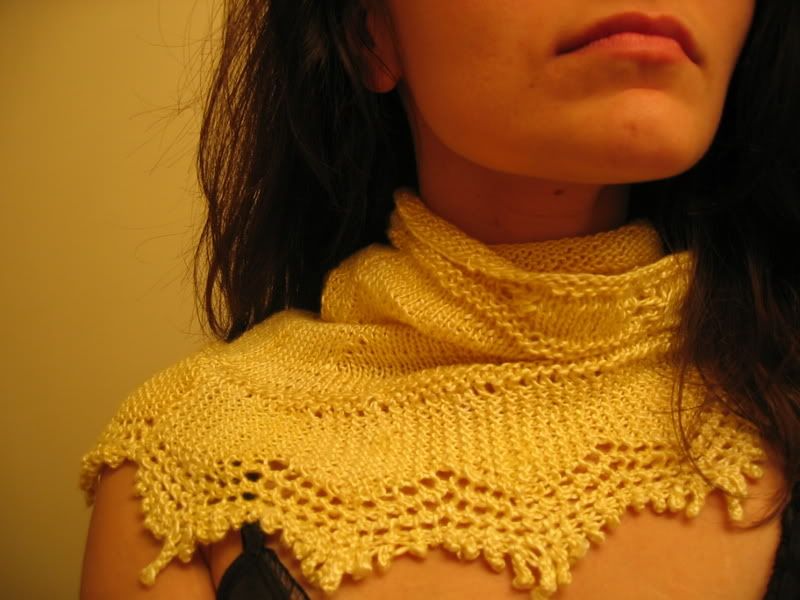
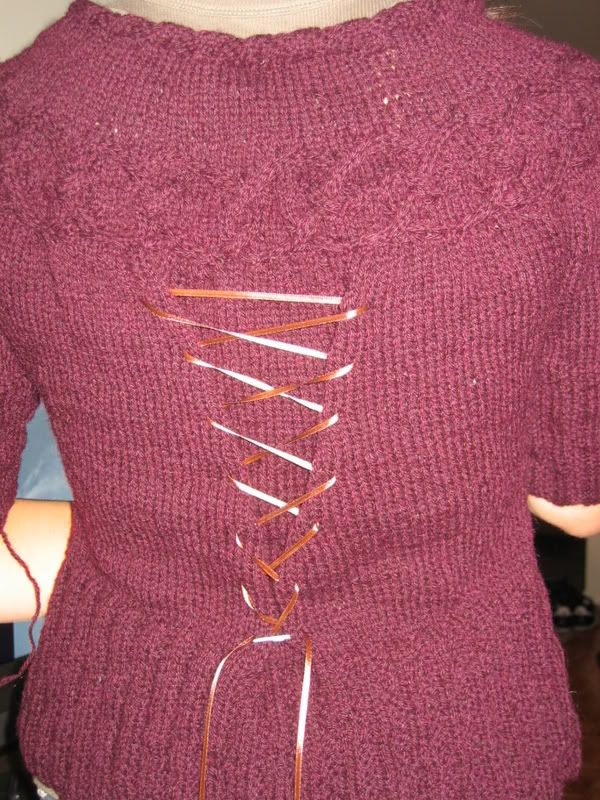
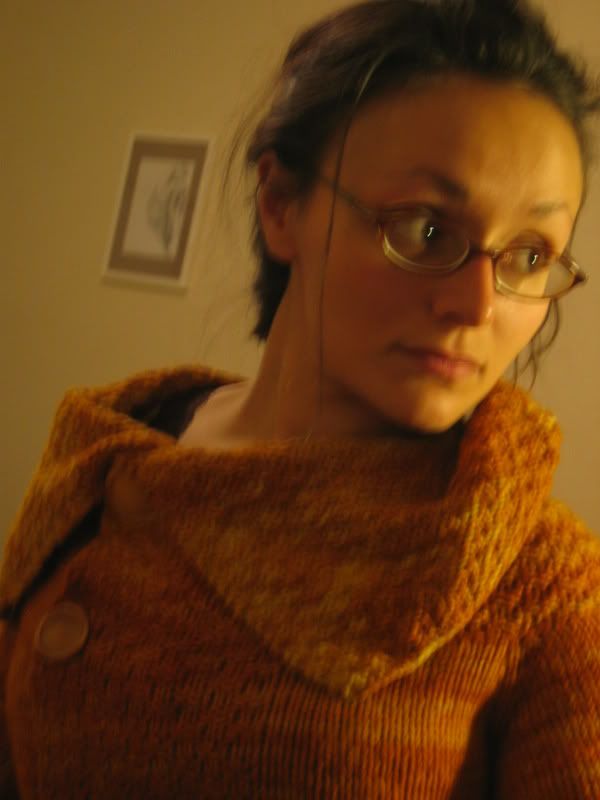
One with the collar down.

***Pattern Mod Notes***
Needles: 5.5 mm (now orangely stained)
Yarn: used thusly
2 skeins for body (plus a very small bit from the third. The last inch of the body is from the third skein).
1 skein for both sleeves (I had a very small bit left over from the third skein)
1 skein for the collar (once again, I had a very small bit left over. I just kept knitting til most of the yarn was gone).
I cast on 164 stitches. Sounds excessive, but here’s how I divided it up:
RIGHT SLEEVE|
20 sts (that's "Right Sleeve" when you're wearing it)
RIGHT FRONT|
14 sts
RIGHT LAPEL|
20 sts
LEFT LAPEL|
20 sts
LEFT FRONT|
18sts
LEFT SLEEVE|
20 stsBACK|
52 stsBODYYou can see some good instructions on how to do a top-down raglan from
Grumperina’s Picovoli.
Be warned: I didn’t make exact notes on how I increased for the sleeves. I started by increasing every RS row, but found that due to the gauge of the yarn the sleeves were getting far too big far too quickly. The beauty of the top-down is that you can try it on as you go. I highly encourage this.
Once my sleeves fit, I just maintained the pattern for the body all the way down, doing no shaping, but adding the button holes when I thought they’d look good (one above the chest, one right below the bust, and one near the waist for definition. I was afraid that the sweater would make me look boxy and frumpy without it).
The bottom edge is just about an inch of 2x2 ribbing. Make sure to cast off semi-tightly. The first time I CO for the sweater it was far too loose, and flipped up unattractively.
SLEEVESJust picked up and knit down. I only decreased about an inch, made them about a ¾ length, and had 2.5 inches of double moss at the bottom edge.
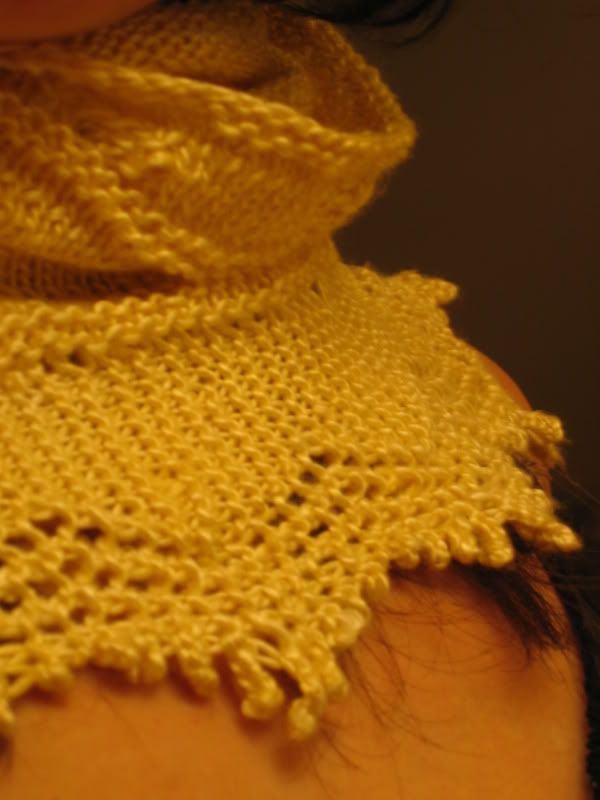
COLLARSimple simple simple!
All I did was pick up every 3 stitches along the neckline, skipping every fourth (because it was just a tad too wide, and fell off my shoulders.)
I worked the whole thing as a continuation of the double moss from the lapels. I must admit I did nip in the sleeves, but only slightly. I did this by placing markers in the same spot they were for the sleeves. I just decreased once on each side of each marker (taking off 8 sts in total), then worked for a while. Remember when you’re working to keep in the double moss pattern. The “odd stitches” created by decreasing disappear into the collar; I can’t seem to find them now! (sorry I can’t be more specific on where I put the decreases – I didn’t write it down, and can’t see it now in the collar!)
I tried it on along the way, and I decreased the same way I did above once more.
The entire collar is about 11.5 inches long.
Don’t forget to add a button hole into the collar – I put mine just about at the collar-bone level.
Happy Knitting!
Any questions, clarifications, etc, please comment.